


Your Custom Text Here
I'm still pretty excited about this restoration project. I think there should be only one more post in the future with the final results! In these photos I replace the insulation with modern pipe insulation and nice bubble-wrap like product. I also modify the cooler to accept my new spigot.
I'm still pretty excited about this restoration project. I think there should be only one more post in the future with the final results! In these photos I replace the insulation with modern pipe insulation and nice bubble-wrap like product. I also modify the cooler to accept my new spigot.
The Spigot don't fit!
A hole-step bit can help.
Only expand the hole one step at a time!
Almost large enough!
This mess had to be cleaned up a bit.
A loose fitting before I call it a success.
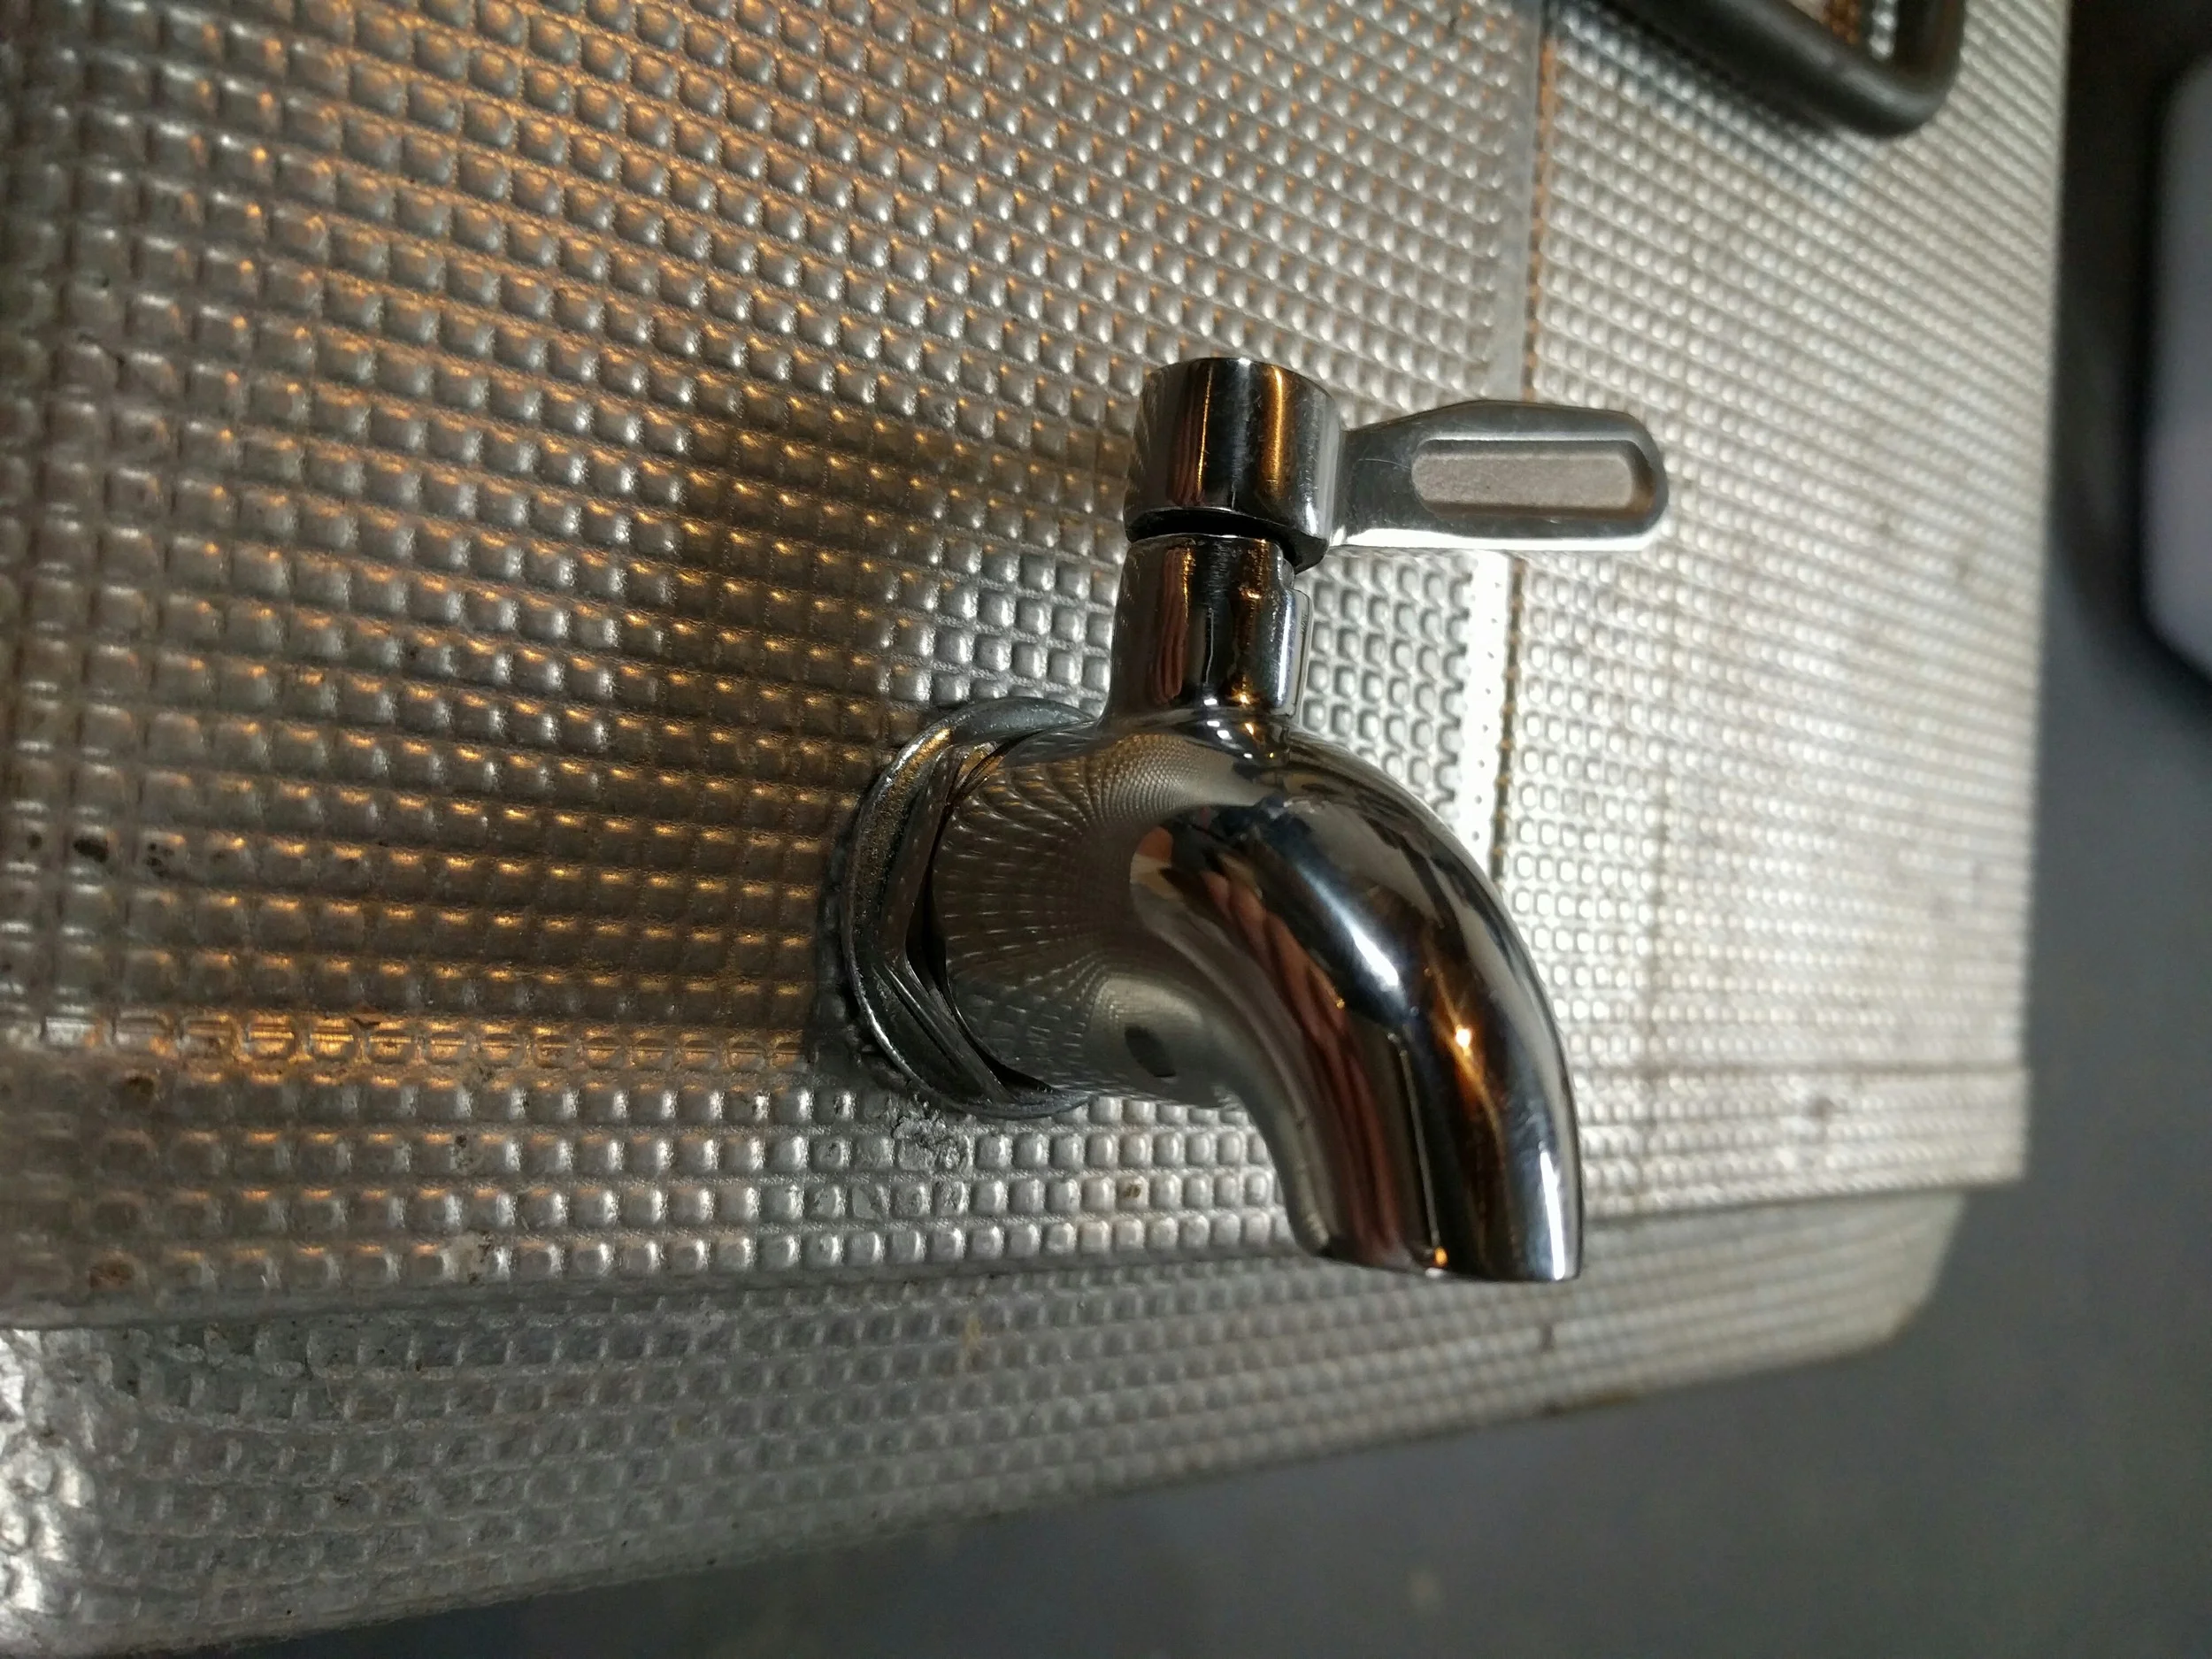
Just right, but notice that the washer does not sit well on that seem.
Not shown, I filed the washer down to fit nicely.
Another view of the spigot.
Sealing the seems with a marine epoxy.
the insulation ply cut to fit the coolers walls.
Insulation walls placed. Better to have extra.
A pretty good fit. Notice that the gorilla-tape will allow the insert to be inserted.
Pipe insulation on the bottom
And the last of the reflective bubble wrap.
Placing a wood spacer cut to protect the aluminum from warping.
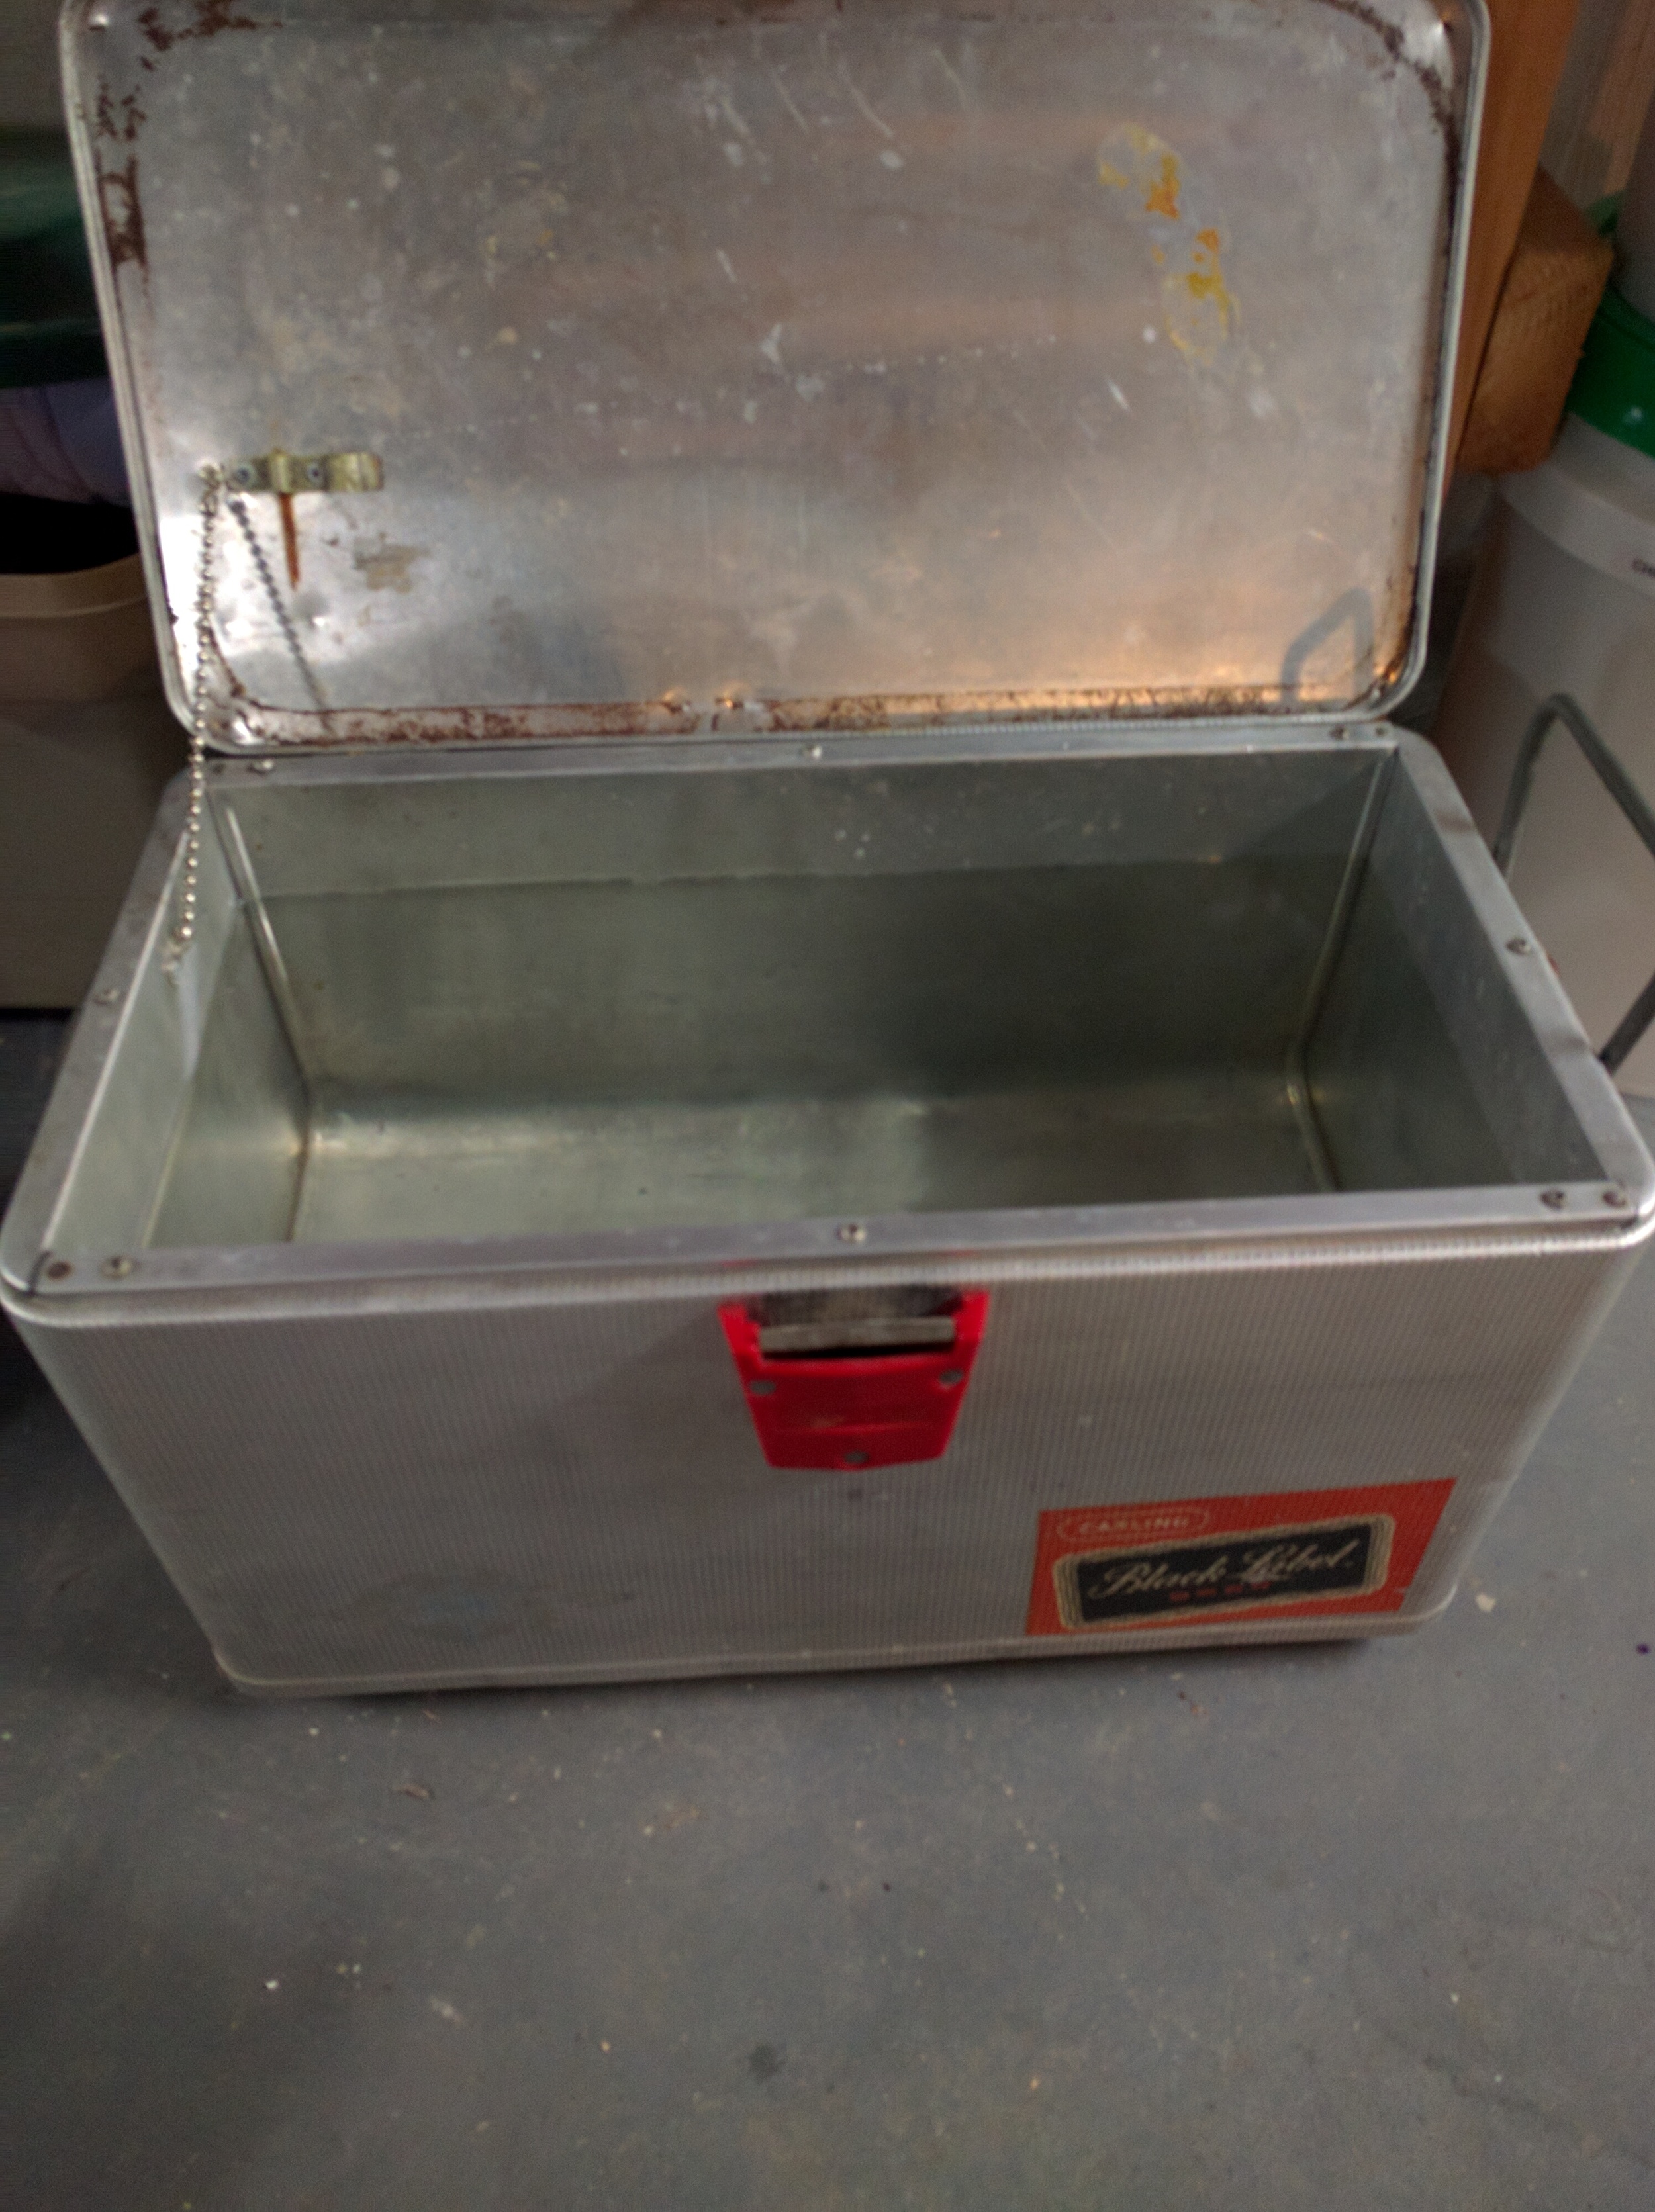
Testing Night Number one, water-tightness!
Testing Night Two, Cold tightness!
18 hours later!
Looks good but lets shine it up!
Starting corse and moving to fine.
Some potential! Just a lot of polishing left!